What are vocal hops and how to make vocal chops on a DAW
January 12, 2023
What jobs can I get with a music production degree
January 28, 2023How to record a harp the easy way. Mic and record harp.
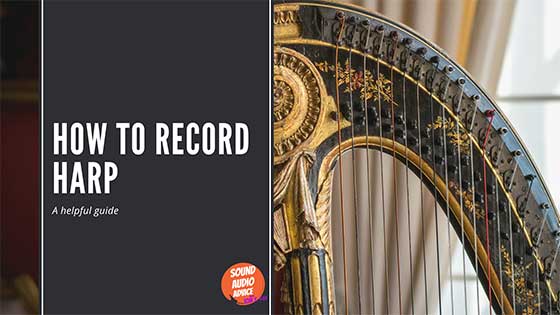
Harp is a specific instrument that needs special attention even during recording. I this sweet and short article I’ll walk you through:
- How and where to record your harp
- Which mics you can consider using for best results
- and how to tune your harp before you start recording
Table of contents
Best location to record harp
The most suitable place for capturing the sound of a harp is an area with minimal reverberation and natural reverberation.
The space should also be well-insulated to prevent outside noise from entering and disrupting the recording session.
You may also want to consider adding a few acoustic panels or soundproofing materials to further reduce any ambient noise.
A room with big windows or hard materials such as concrete, tile or wood floors should be prevented since they can cause reverberations and echoes that will have a detrimental impact on the sound of the recording.
Suppose you do not have access to an acoustically suitable or optimum space.
In that case, you may attempt to utilize a mobile sound-processing solution such as acoustic foam or an on-the-go vocal enclosure.
How to set up a microphone to record harp
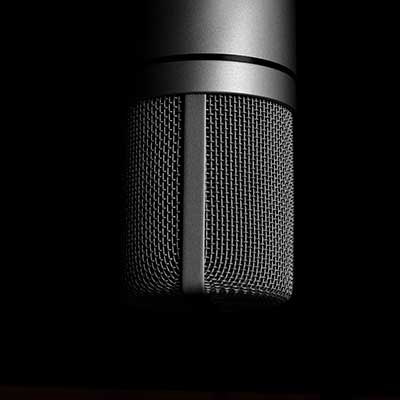
To capture a harp’s sound with a microphone, you will need a mic and a mic stand. Follow these steps to set up the equipment successfully:
Position the mic stand in an area near the harp, but not precisely in front of it. This will aid in curtailing any undesired reverberations or echoes that might be captured on the recording.
- Position the microphone about 12 inches from the harp, aiming it at the sound hole or strings. This will allow for the maximum amount of harp sound to be recorded while keeping any extraneous noise to a minimum.
- If necessary, use a clip or other securing device to ensure the microphone remains in place. Make sure that all cables are securely connected and free of any tangles.
- Connect the microphone to your sound recorder or audio interface.
Tune your harp before recording
Before you start recording, is important that the instrument is properly tuned.
This is especially true if you are playing in an ensemble or with other instruments.
Before recording, take the time to tune your harp.
There’s nothing worse than record a harp and realise only after that the har was out of tune.
How to tune a harp
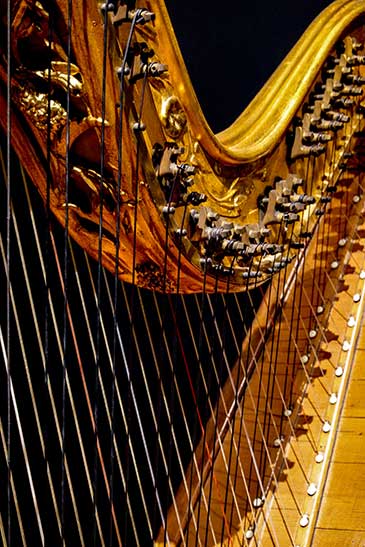
First, you should familiarize yourself with the strings and the notes they produce.
Then, use a tuning key to adjust each string until it produces the desired note.
You may need to make several small adjustments in order to get the right sound.
It’s important to tune one string at a time so that you don’t accidentally over-tune or under-tune any of them.
Set tempo and recording levels
Set the beat with a metronome or click track and adjust the volume on your recorder to make sure the harp isn’t too soft or too loud.
Record your harp and take multiple takes
Test the sound by striking a few notes to ensure the levels are adjusted properly. Once you are pleased with the tone, start capturing the song.
Take multiple versions of the track, as this will give you a range of options to pick from when putting together the ultimate recording.
Best microphones to record harp
Three types of microphones are good for recording and capturing the sound of the harp.
- A large diaphragm condenser microphone is renowned for its capacity to record a broad spectrum of frequencies, making it ideal for capturing the vibrant, full-bodied sound of a harp. Some of the most popular models are the Neumann U87, AKG C12, and Shure KSM9.
- A stereo microphone set up is perfect for recording the realistic ambiance of a room and the sound of a harp in an authentic stereo image. This can be accomplished with either an XY pair or M/S mics. Popular models include the AKG C420, Rode NT4, and Schoeps CMC6.
- Ribbon mics are renowned for their smooth and natural tone, which can be ideal for the harp. Notable models include the Coles 4038, AEA R84, and Beyerdynamic M160.
How to record harp at home
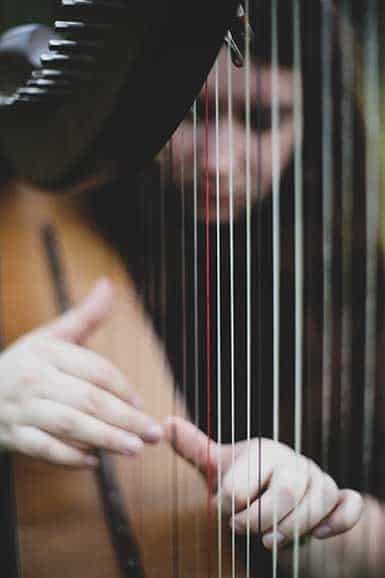
Once you have the equipment set up, you’ll need to select a good space for recording.
You’ll want to find a room with minimal background noise and reverberation.
Often times bedroom or living room is the best place to record and to pick the right mic placement.
Try to mic a harp somewhere next to bookcases, away from flat walls, ideally on the rug or carpet.
Good sound is dependent of a sweet spot (the best-sounding spot to record the harp) so experiment with miking a harp, one or more microphone and mic placements away from the harp.
How do you put a microphone on a harp
You might think you have to put a microphone on a harp, but actually, you only have to place your microphone about 12 inches from the harp, aiming it at the sound hole or strings.
This method will provide you with more than enough recording quality.
Overall, recording a harp is a pretty straight forward task.
Definitely not as complicated as recording other instruments, let’s say drums.
I hope this was helpful to you.
Thanks for reading.
Tom
I’m Tom S. Ray and I’m head mastering engineer at Audio Unity Group. I also hold a bachelor with honours degree in music from Kingston University in London, I lecture mastering to students in Edinburgh College and to my online students via my Mastering Mastery audio mastering online course.
