How to Record Flute?
January 13, 2021
Abbey Road Vinyl Plugin Review 2022. Best Lo-Fi Plugin?
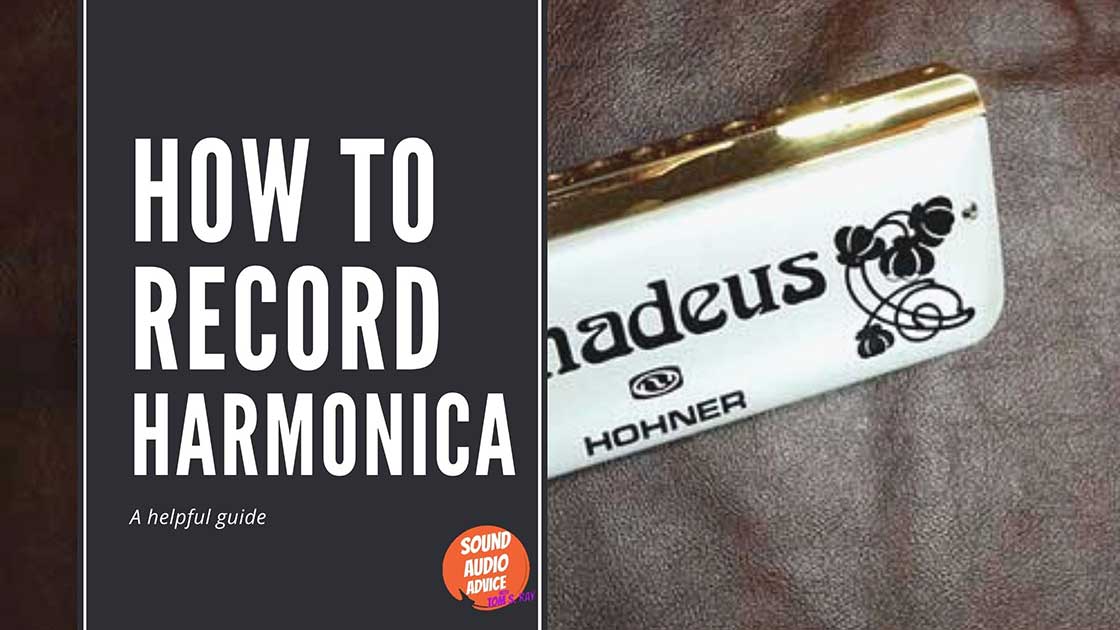
October 18, 2021How to Record Harmonica. Beginners guide
The Harmonica has a reputation as a tricky, infuriating instrument. But we don’t agree with that. In fact, to show our commitment to the harmonica, we’ve gathered a list of tips and tricks on how best to record your harmonica!
The Harmonica is a famously passionate instrument. Its gritty, rustic sound is one which draws in the listener – but that sound has to be recorded in the right way. And if done incorrectly, ruins the appeal of even the greatest harmonica players. Therefore, we’ve decided to compile a list of the most useful tips and tricks, and best techniques, for getting the optimum sounds from your harmonica.
We cover everything from recording your harmonica using a simple microphone, to recording using an amp, to a mix of both using various numbers of microphones!
How To Record Harmonica?
As with recording any instrument, there is not a completely foul proof recording technique. There will always be technological hiccups and personal preferences. But, speaking generally, there are two popular techniques that musicians use:
- A direct line – this is the most straightforward technique; all you need is a microphone, recording device (to save your recorded audio) and a microphone stand (to, shockingly, hold your microphone)
- An amp – this is a slightly more complex recording technique; you will need an amp, a 1/8-inch cable, a microphone, a XLR cable for your microphone, an audio interface, and a DAW.
The step-by-step instructions to these techniques are noted below
How To Record Harmonica using a microphone?
For many instrumentalists, the preferred option to record the sound coming from their harmonica is using a microphone. To do this, you will need a microphone, a XLR (microphone) cable, a microphone stand and a device capable of recording sound (many choose to use an audio interface, connected to a Digital Audio Workstream (DAW), but this isn’t necessary).
To record a harmonica using a microphone, follow our step-by-step instructions below:
- Set up your microphone in its stand. Then connect the XLR cable into the microphone, and then into your audio recording device. If you are using a DAW, connect the XLR cable from your microphone into an audio interface, and connect this to your DAW. This isn’t necessary – the DAW acts as a recording device.
- Check the input is being recognised on your recording device/DAW. For the DAW, make sure you have selected ‘create new audio track’. For your separate recording device, check that the correct input is selected, and the gain is turned up to hear your tester sounds.
- For both the DAW and separate recording device, you will know sound is being received when the sound bars begin to move on the device’s screen.
- Now, once you’re sure sound is being recognised on your recorder – record!
- Listen back to your recording and record again. Practice makes perfect!
To create a fuller, richer sound from your harmonica why not use several microphones? This may sound expensive, but it will greatly improve your recorded sounds. You will need the same equipment as before, simply multiplied by how many microphones you wish to use. For example, for three microphones, you will need three sets of XLR cables, and three microphone stands.
To record a harmonica using several microphones, follow our step-by-step instructions below:
- Set up your microphone and equipment as before. But, measure out three distances from your harmonica playing position. One at 6 inches, one at 3 feet and one at 6 feet.
- Set up a microphone, microphone stand, and appropriate XLR cables at these distances.
- Ensure your recording device is operational and picking up all three inputs.
- Record!
- Listen back and here the richer, fuller sound of your microphone with three recordings, at three distances. These can be mixed together and kept separate.
To add an extra level of depth to your recording, swap up your microphones on different recording takes. Why not try a condenser mic if you’ve only been using shotgun mics so far?
How to record a harmonica using an amp?
To record your harmonica using an amp, you will need two microphones, two microphone stands, a pair of XLR cables for your microphone, and a recording device (which can be a combination of an audio interface and a DAW).
To record a harmonica using an amp, follow our step-by-step instructions below:
- Set up one microphone stand to face toward your amp. Set up another microphone stand to face toward your harmonica.
- Connect the XLR cable from your amp microphone into your recording device. Connect the XLR cable from your harmonica microphone to the amp – this will allow the sound from your harmonica to be projected out of the amp.
- The distance the microphone is placed from your amp is entirely your decision and based on personal preference.
- Remember to check that the input in your recording device is correct and picking up your sounds. These may not appear on screen until you increase your track’s gain (input volume).
- This process can be done using a DAW – connect the
- Record!
- Listen back to your recording and record again. Practice makes perfect!
How to improve sound recordings at home?
In 2021, we will certainly be working from home more. And that means recording at home more too. So we’ve decided to compile some tips to improve your instrumental recordings at home:
- If your recording area has a poor sound, hang some old sheets or blankets on the walls. Try make sure they are hanging rather than flush to the wall. This will make an immeasurable difference to the sound!
- Stay at least 6 inches from your mic! Don’t crowd the mic or it will pick every tiny sound which you do not want
- Take your time. You need headspace to relax before you can give the perfect recording – that takes time! Not all of us are one-hit wonders.
- Record, record, record! The more recordings the better; as we all know, practice makes perfect.
What are the best microphones to record harmonica?dff
The best microphones for recording harmonica are ribbon microphones, which are traditionally used because they don’t need high amplifiers to drive them.
They’re also great because their gentle, smooth sound has a less noticeable proximity effect or off-axis coloration when in close proximity to the instrument. Another good choice is an SM57 if you don’t want to spend much money.
Dynamic mics will work, but be prepared for more muddiness and dynamic range compression due to built-in overload protection circuitry that cuts down on any sudden spikes of volume (harmonics) like those produced by pressing hard into the strings with your fingers and then releasing quickly. Ribbon mics sometimes pick up plosives from breathing through your harmonica,
How to make sure my harmonica lasts?
There is not a set list of dos and do not’s for harmonica usage. But there are some general rules that we’ve picked up over the years:
- Brush your teeth before playing. This will reduce the likelihood of food particles entering the harmonica and contributing to its worsening.
- Don’t blow too hard. This, again, reduces the chances of particles becoming lodged in the instrument. Additionally, it reduces the amount of moisture entering the harmonica – which can lead to rust.
- When you’re finished playing, slap the side of the harmonica to dislodge any particles/moisture. After this, place the instrument in a location where it will quickly air dry.
How can I make my harmonica sound better?
Those are pretty logic steps but important ones to remember.
- Ensure you are using the correct harmonica for the type music you want to play. There are also certain ranges of harmonicas that will produce a better sound and tone, and it is best to invest in one of higher quality.
- Choose a harmonic which matches your desired sound. For example, if you want a sound with lots of air, then select an open diatonic instrument such as C., D., G., A., or B major. If you want a mellow sound then use an out-of-tune diatonic instrument such as A minor, F# minor or Ab major because these have fewer notes in them which means less friction while playing.
Why does my harmonica sound weird?
The sound of a harmonica is created by the altering of air pressure within a pocket or cavity, so this can cause problems with tuning and how notes sound.
You could have air leaks due to an obstruction in the mouthpiece or from cracks around its edge. Tighten up all screws/bolts on your instrument before playing. If you have been exposed to moist environments, the tarnish on metal parts might need to be removed with polish before they will play properly again. Minor adjustments may also be needed for the sliding components inside the instrument (reedplates, springs). If there are any bends or curves in your reedplates, use sandpaper to rough them up (just enough) and put them back into place;
Hope that was helpful.
Thanks,
Tom
I’m Tom S. Ray and I’m head mastering engineer at Audio Unity Group. I also hold a bachelor with honours degree in music from Kingston University in London, I lecture mastering to students in Edinburgh College and to my online students via my Mastering Mastery audio mastering online course.
